
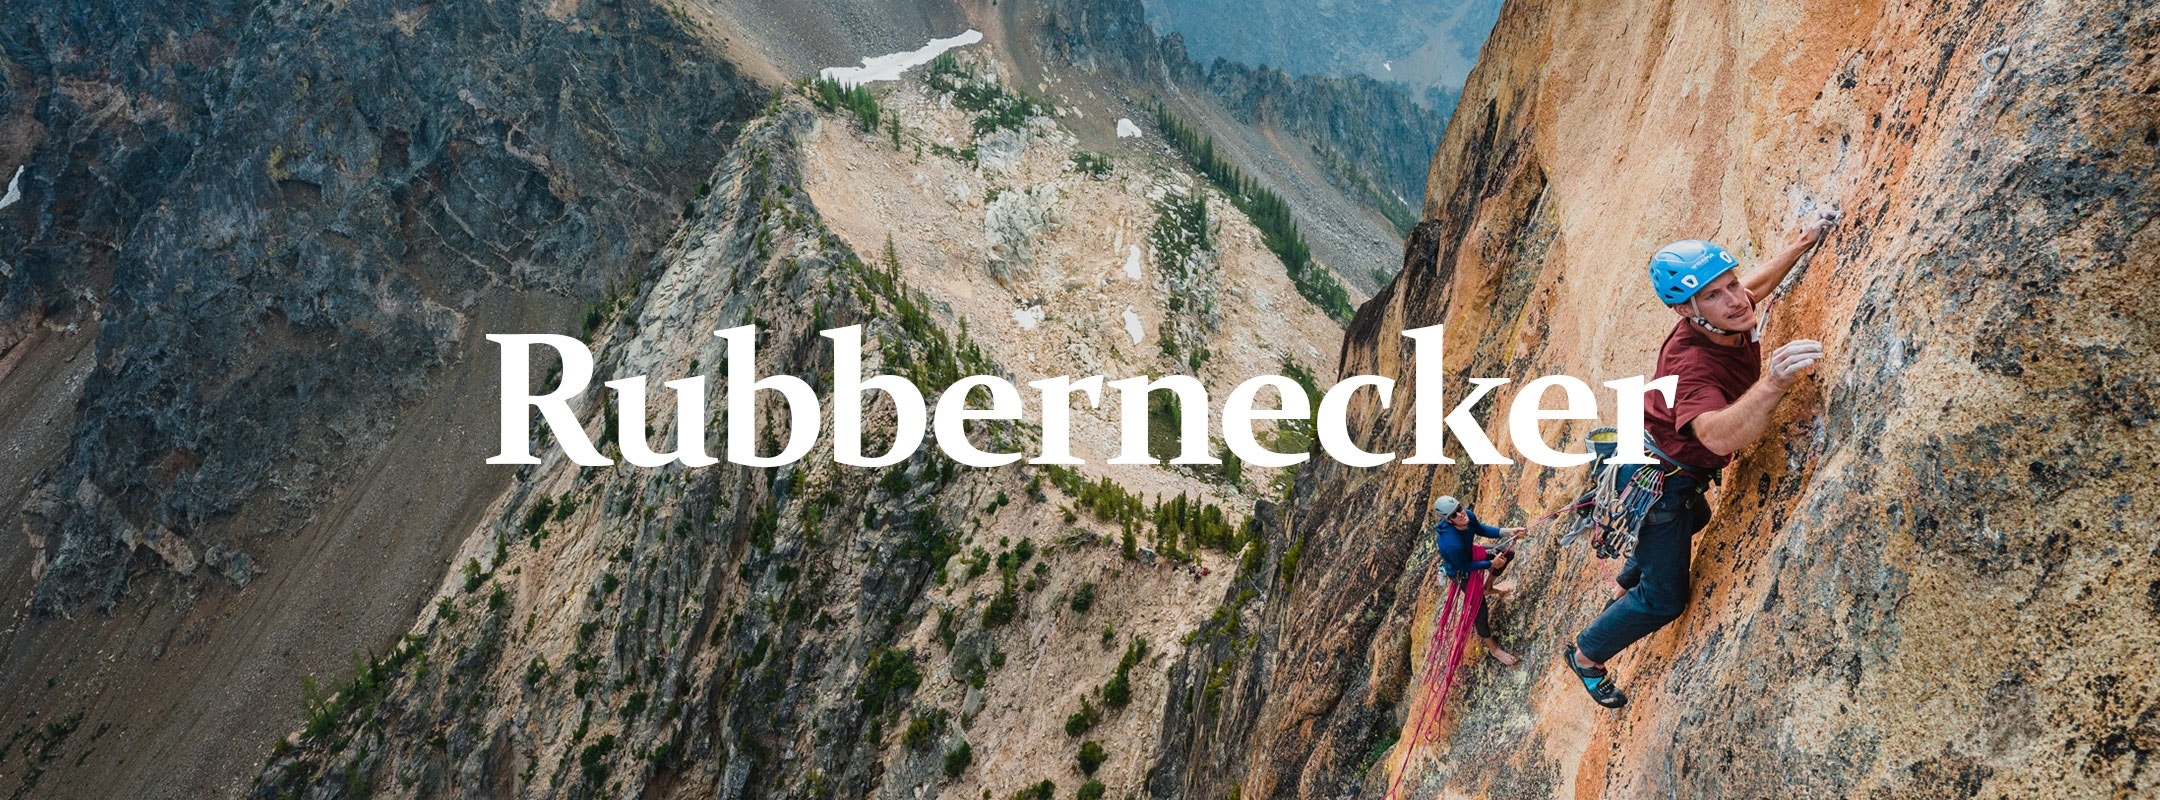

Shortly after moving to Washington in 2015, I began scouring the guidebooks for aid lines to free. There’s not many left, and I would later discover that this is not always the best way to find great new free lines. However, the aid line "Midnight Ride" (5.9 A4 600ft) on South Early Winter Spire (SEWS) jumped out. The route climbs a steep and clean face on SEWS just left of the classic route "The Passenger" in the Washington Pass area. For years I had been thinking about checking that face out, but never did until the summer of 2021.
In the late spring of 2021, my friend Andy Wyatt reached out about going up to Washington Pass to climb. I told him about the wall on SEWS that I wanted to check out and he was psyched to rappel into it and check it out. On a ski tour the day before I arrived, Andy took several photos of the face. To our surprise the steep wall was littered with corners and cracks! We couldn’t pick out the old aid route, but could immediately pick out a couple prominent looking lines. It seemed like there were plenty of features to make a new route possible!

Before settling on the line that would become Backseat Driver, we found 50 feet of continuous pockets leading up the headwall of the south face. It was like the pitch was stolen from Wild Iris or Smith Rock and placed 500 feet off the deck. These rare granite pockets ranged from big enough to put your whole hand in, to shallow two-finger pockets. The most overhung section had the smallest pockets and seemed barely possible. More concerning was a long seam lower down on the wall that would need to be climbed to gain the pockets. The line was appealing, but just looked too hard to tackle first, so we opted to move our lines over to the corner systems to the right.
After several weekends of work, with additional help from Matt Carroll, we uncovered a striking line up some of the steepest rock at Washington Pass. Backseat Driver weaves together an elegant series of cracks, shallow corners, and powerful left-facing laybacks on immaculate rock. A few improbable and fun boulders provide key passage between the generally left-facing features. The route is well protected with a combination of gear and bolts, and all bolted anchors. On the last pitch, it merges with the right finish of The Passenger. I freed the route (5.13, 7 Pitches) on July 11, 2021 with Andy’s support.
Later that summer I spent a couple days looking into the pockets line which would later become Rubbernecker. After a rough cleaning and examining of each pitch, I found that it would likely go. But with the summer ending soon, I decided to wrap up my efforts on the face and return to it at another time.

This last spring was one of the wettest and snowiest in years: great for skiers but terrible for rock climbers eager to get into the alpine. The road to Washington Pass usually opens early May, and due to the southerly aspect of the wall, I should have been able to start on the route as soon as I could drive out there. The early season is great at the Pass because the snow makes for direct approaches on the way up and a quick glissade or ski down on the descent. But the combination of this year’s rain and having to finish up a Computer Science degree kept me away till mid-June.
This was my third summer in a row of developing a multipitch route in the mountains, so I was starting to get the process down. The steps basically involve:
1) Hike a bunch of static rope up a mountain so that you can fix the route using gear and occasionally a bolt if gear can’t get you where the line needs to go. Going ground up deserves all the respect, but I love developing top down. It is hands down the best way to enjoy the creative process of finding where the best climbing goes. It also helps ensure protection bolts and anchors are added in the most minimal, safe, and ideal way.
2) Firm up the rough line of the route. Because I had done some work on the route the previous season, I was able to spend the first day up there confirming where the route would go and the route’s possibility. Once the pitches have been sorted out and the path of the route is decided, then anchors are bolted.
3) Now the fun part of cleaning and climbing begins! At this stage, I usually rap a pitch with a hammer, crowbar, and a couple wire brushes, scrubbing and knocking off any loose rock. Then I leave everything except the wire brushes and climb the pitch, scrubbing as needed. Repeat many times on all the pitches.
4) Once the climbing starts to reveal itself, you have to figure out where the route needs additional protection. Ethics have already come into play with deciding to create a route top down, but they come into play again here. Each area is unique in what the community deems appropriate, but there is also a fair bit of subjectivity in how each decision to place a bolt is made. I try to place bolts only where good protection is not an option, thinking about fall points, and making sure that the route can be climbed safely. It’s important to know and understand the regulations of the land managers and also to consider the norms of the climbing in the area.
5) Once the cleaning and bolting is done, the route needs to be freed! For this route, I needed several more days of learning the pitches to feel confident leading them.

I’ll spare you the details of my ground-up effort, except to say that the route was definitely the most challenging route I have done: I fell more attempting to send this route than I have on any other. One or two falls is normal, but on this route, I fell 5 different times across 3 different pitches, mostly near the top of the pitches. With the extra effort I had to put in trying certain pitches multiple times, I essentially turned a 7 pitch route with three 5.13s and one 5.14 into a 12 pitch route with six 5.13s and three 5.14s.
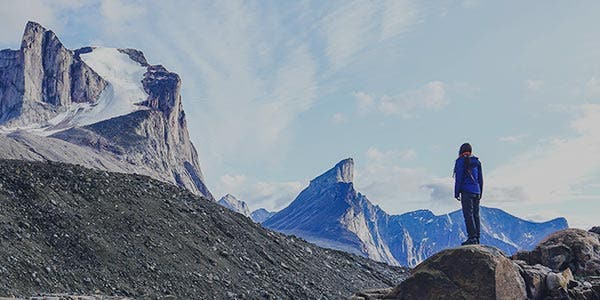
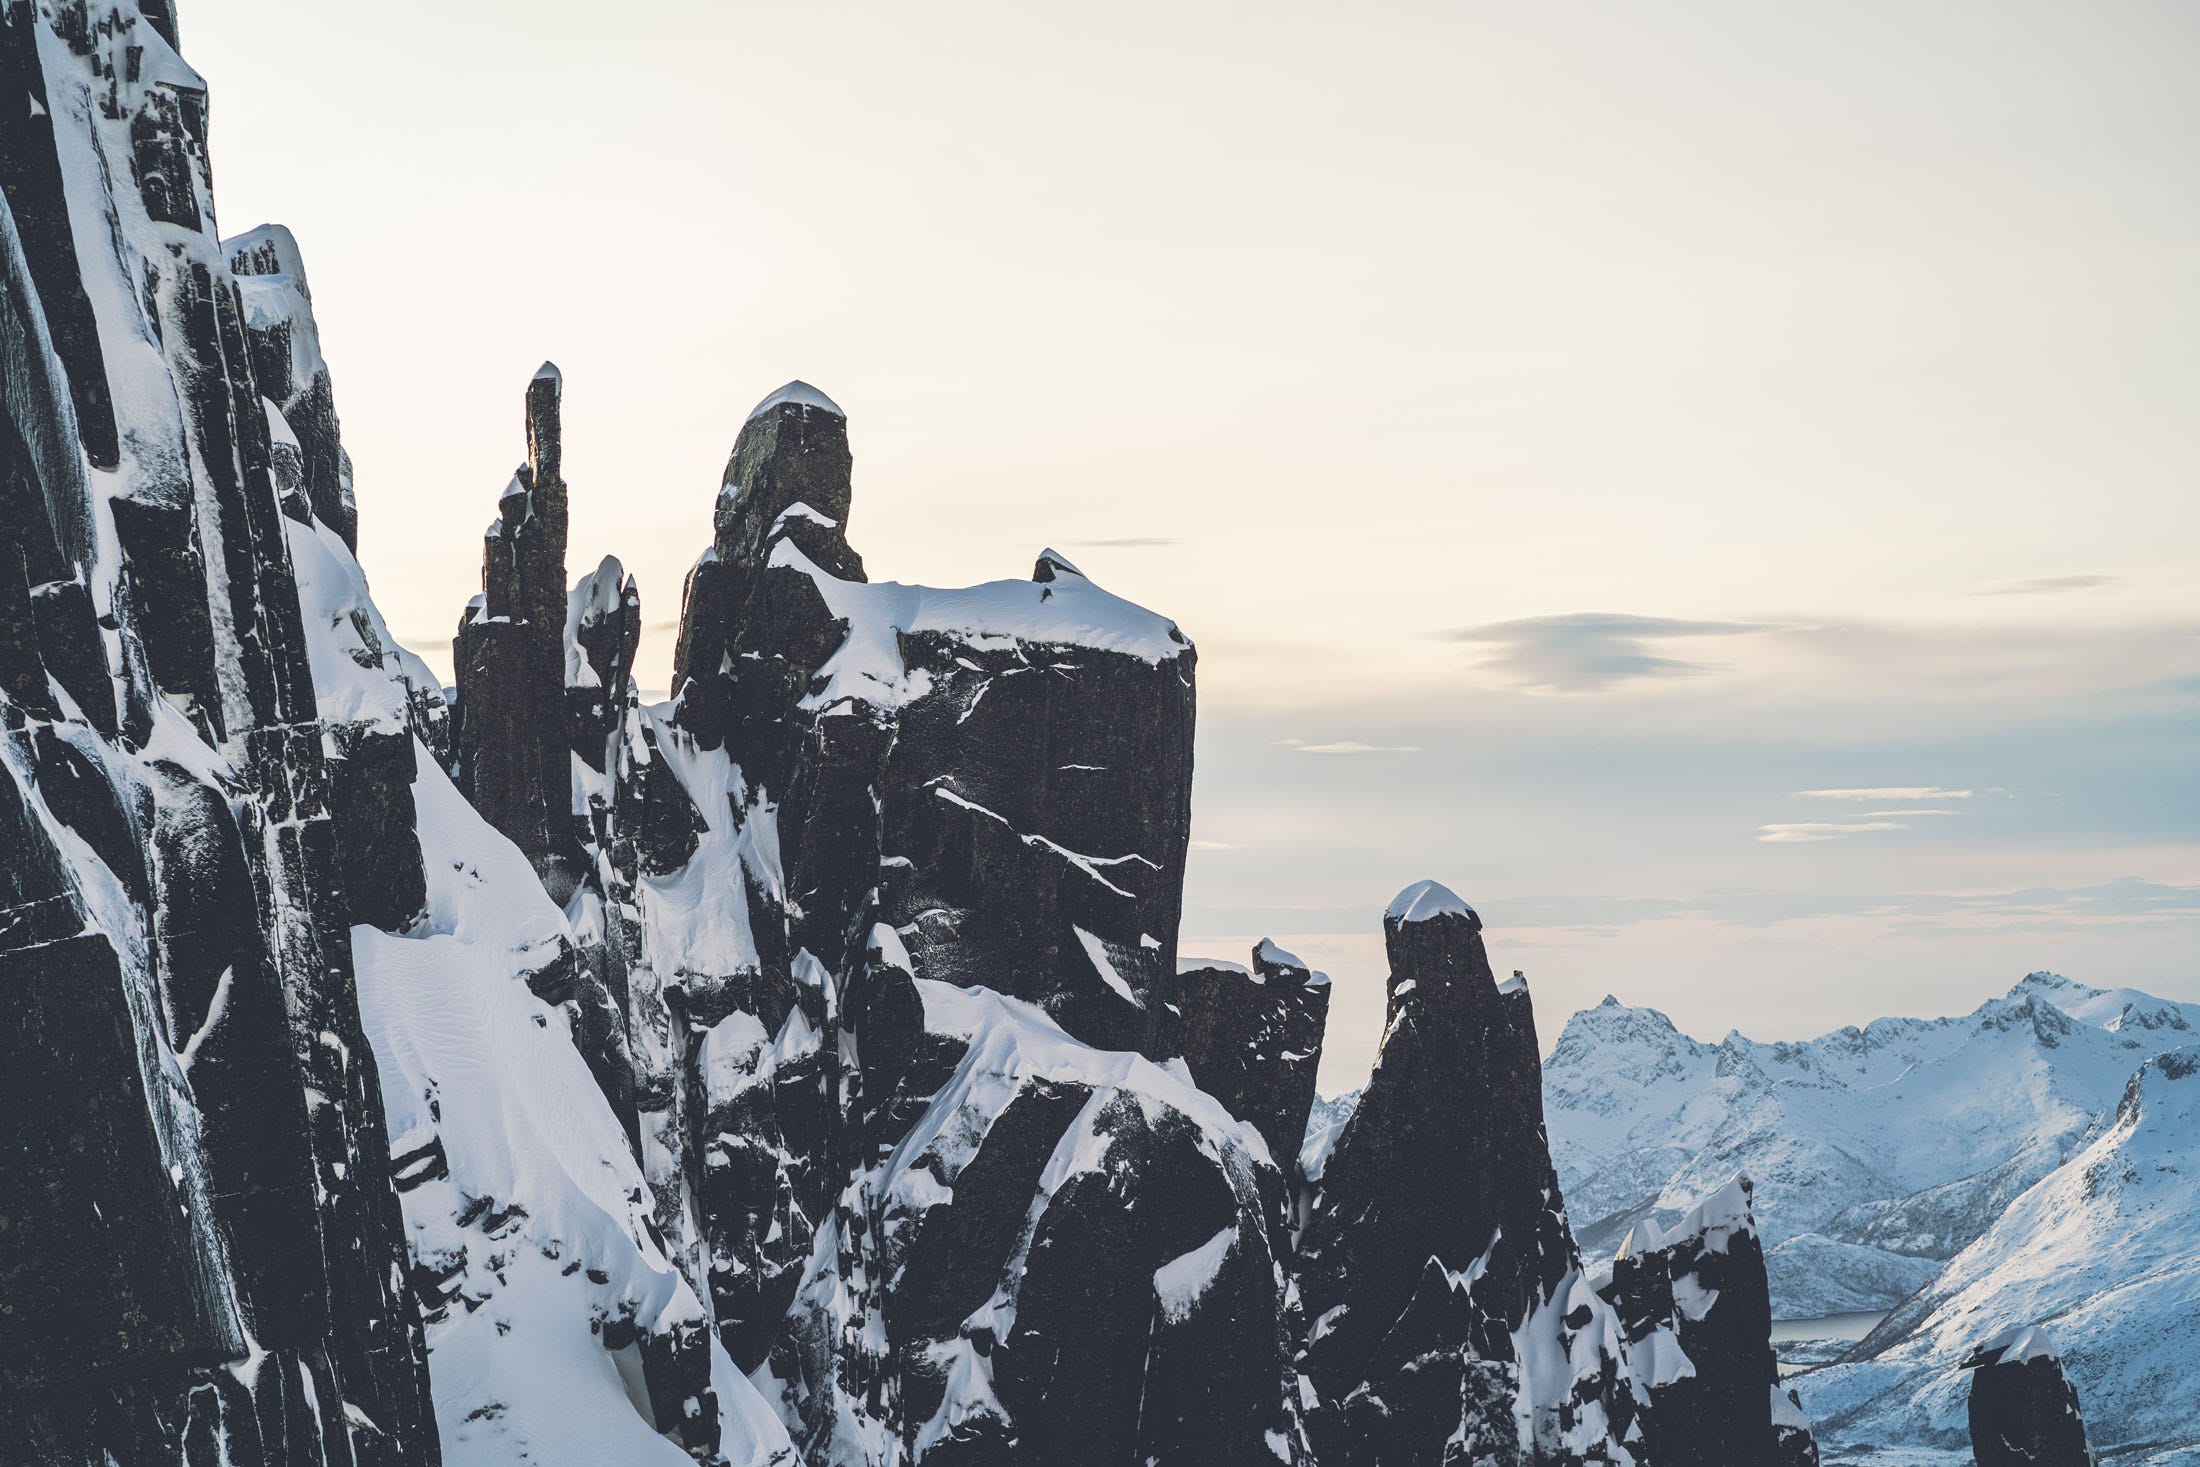
I reached the top of the wall just after dusk, climbing the last pitch by headlamp. I sat at the top, looking out at the layers of dark mountains as the stars started to appear overhead and had a moment of gratitude that I have the health and ability to enjoy places like this in this unique way. I had just finished a beautiful and creative process filled with movement, risk, discovery, and hard work, a ridiculous performance imbued with meaning, acted out in the most stunning mountain stage in the lower-48, the North Cascades.
Many thanks to Adrian Vanoni and Gus Nava for their days of help discovering and cleaning the climbing on the route, and additionally to Adrian for supporting my ground up effort.
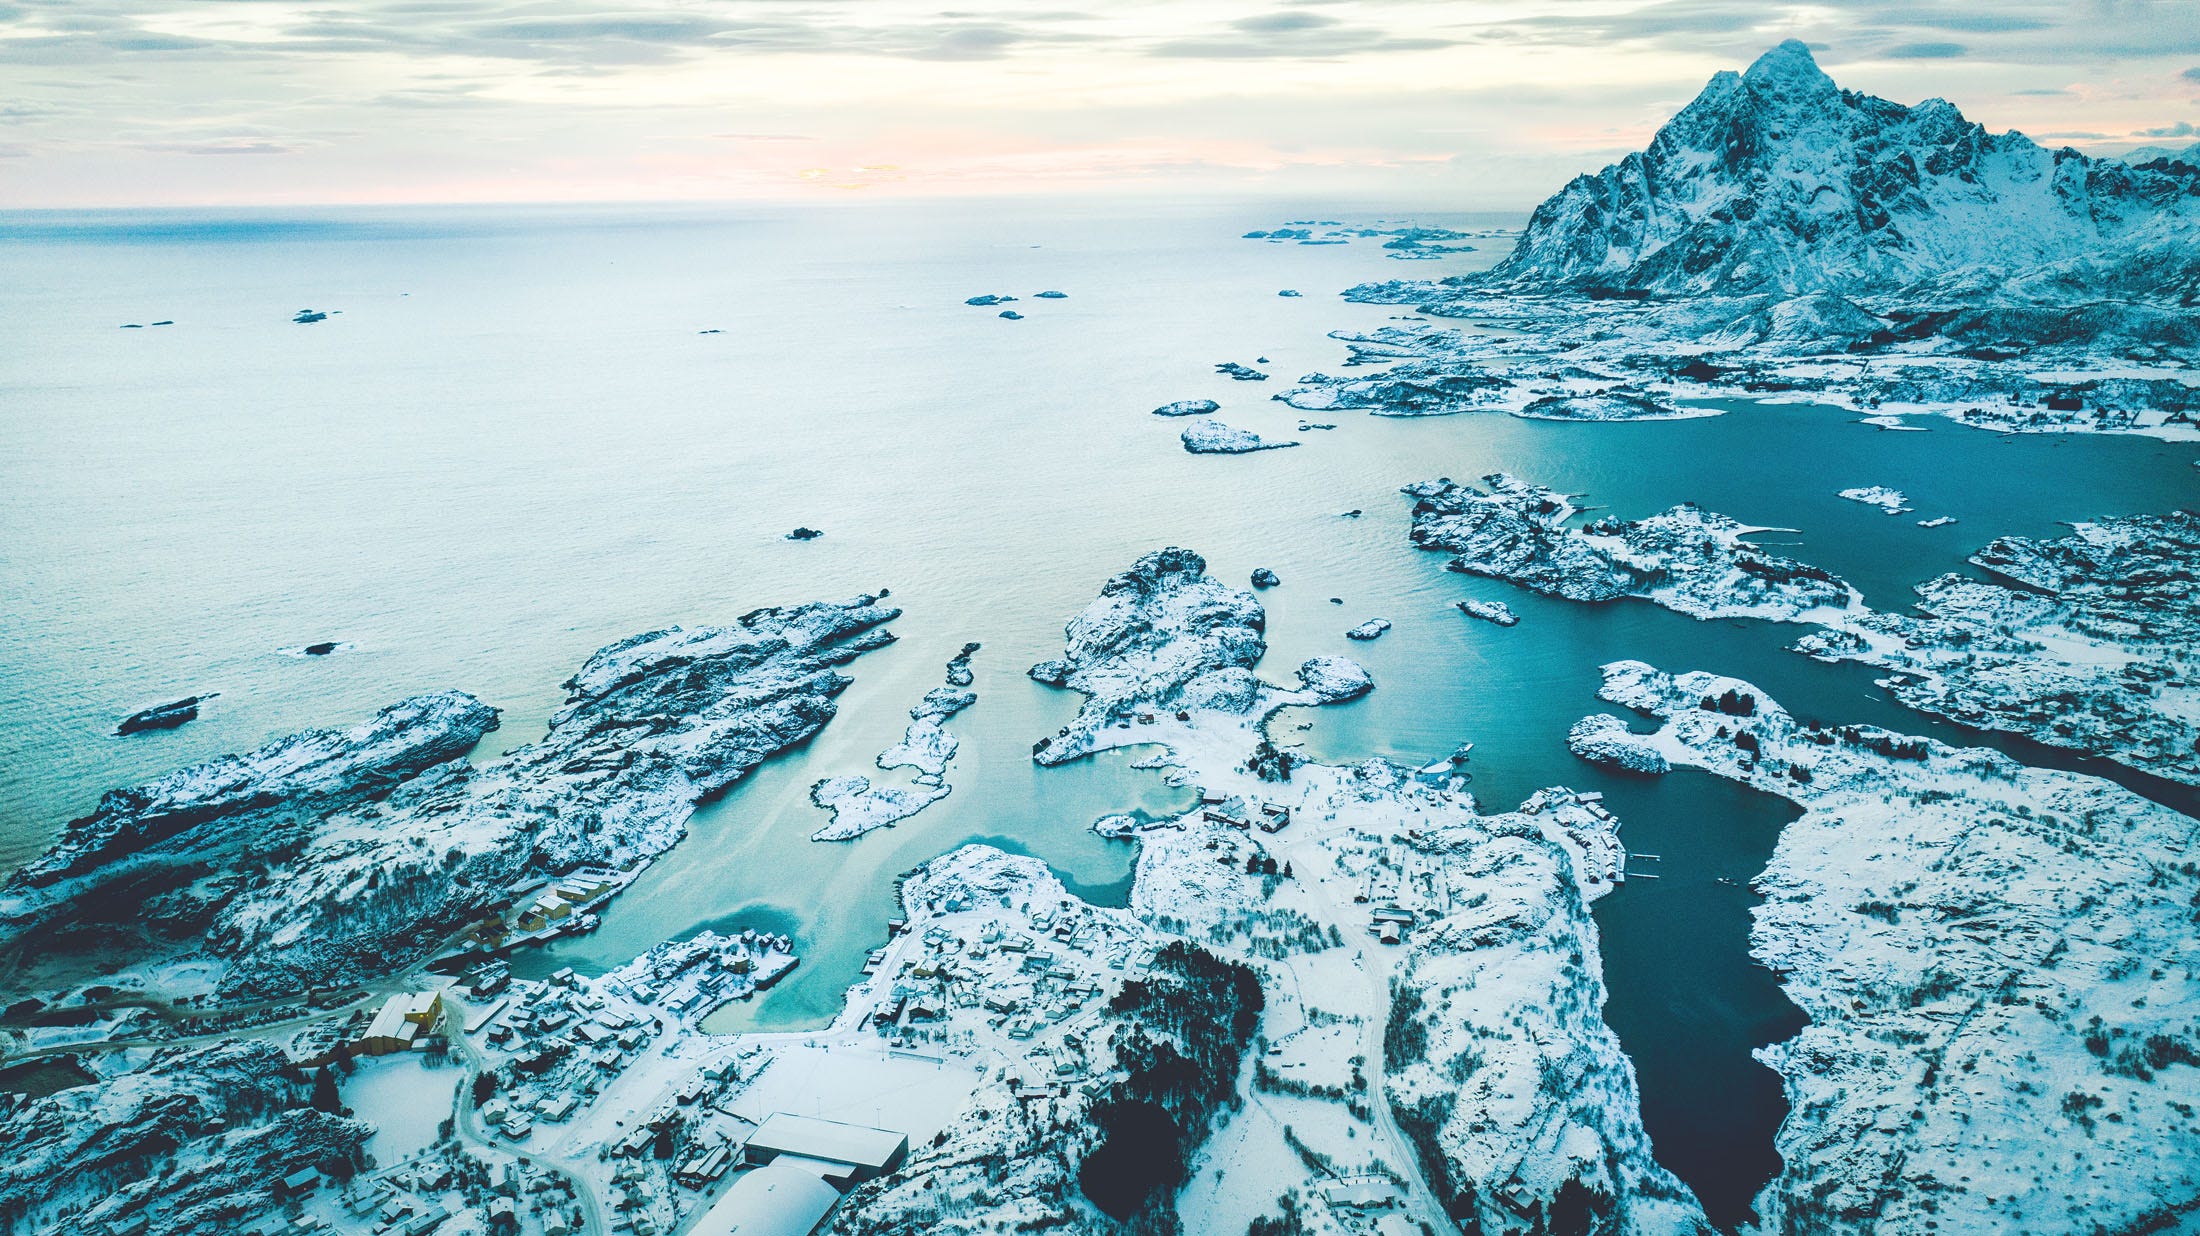
The route was named Rubbernecker due to the group of spires (the Liberty Bell group) that sit above a mountain highway. Drivers always 'rubberneck' when passing these spires, lending the term to the name.

For those interested in the details of the climbing, they go as follows:
1. 5.11+ (15m) — Climb a tricky bolted face into left facing corner. Step out left to stem for the belay.
2. 5.13 (25m) — The Index Pitch. Start with 5.11 laybacking through the arching corner to an old anchor. Skip the anchor and continue on to some wild climbing in the corner above. Utilize all the stemming and pressing tricks you learned at Index. Pull out of the corner and finish through the roof above.
3. 5.14- (25m) — The Seam. Sloper and smear up the obtuse crack, and eventually transfer out left to a second crack. Compress up the two cracks and finish left on ledges.
4. 5.13+ (15m) — The .2 Pitch. Traverse out into the two cracks, clipping a couple bolts through the hardest climbing on the pitch. Unfortunately the climbing only eases slightly and stays steady until the end. After pulling the redpoint crux over a slight bulge, clip a bolt and finish at a small stance in a big corner. The pitch is protected by small and tricky but good gear.
5. 5.12+ (20m) — The Big Corner. It’s called the big corner but you don’t actually climb in the corner unless you want to. There are two variations for this pitch, but the left, non-corner, variation is preferred. Undercling out left through tricky and bad feet, clipping two bolts. Follow the same feature as it turns up through fun and interesting climbing. Place one final small cam above a flake, execute an athletic cross up to a small crimp and more back right to the big corner on juggy pockets.
6. 5.11 (15m) — The Garden Pitch. Start up through the wide crack, which is wet in the early season. If you find yourself on this route in the early season and hate jamming wet cracks there is a bolt out right for some interesting but harder climbing (12- maybe?). After the two variations merge, navigate through an amazing water runnel feature, enjoying the cool holds and a small garden. Climb up and stay left longer than you think, then traverse straight right through underclings and pockets to a belay below a roof.
7. 5.13 (40m) — The Pocket Pitch! It’s astounding that this pitch exists. Traverse right from the belay into exquisite granite pockets. Pull through a tough boulder on two-finger pockets to a small rest at the 3rd bolt. Climb right through sequency and increasing slabby climbing, still, completely on pockets. Stand into some final juggy pockets to an optional belay, though it’s recommended to continue on to the steep crack above. Step right to reach a rail then move back left along the rail to gain the crack. Jam and lock up the crack to a final boulder to gain an ear-like jug feature. Continue up about 10m of easier climbing to the top of the wall.
Large subhead (32px text, 38px line height)
Small subhead (20px text, 28px line height)
Text paragraph
Quote style, bold, italic, 20px over 28px
Shop The Kitlist
-

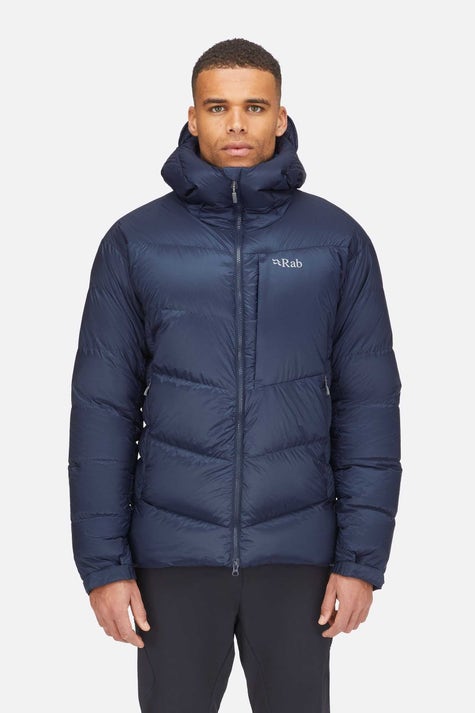
Men's Nebula Pro Insulated Jacket
Zoned construction and synthetic insulation. A seriously warm layer for winter mountaineering.
£195.00 -
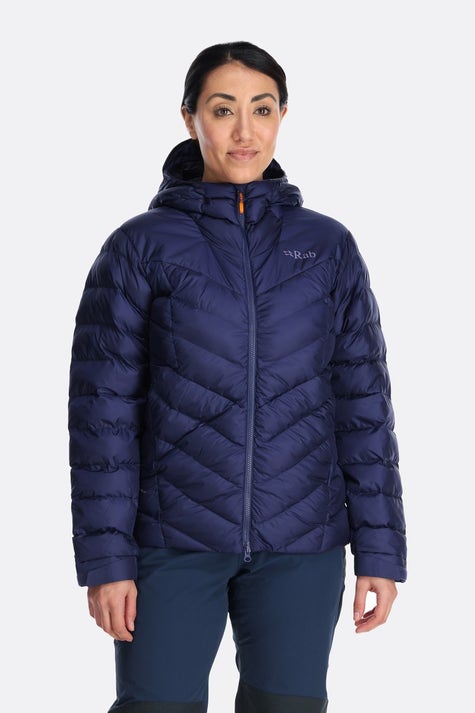
Women's Nebula Pro Insulated Jacket
Zoned construction and synthetic insulation. A seriously warm layer for winter mountaineering.
£195.00 -
Men's Positron Pro Down Jacket
Constructed to optimise warmth and mobility whilst minimising bulk.
£390.00 -

Women's Positron Pro Down Jacket
Constructed to optimise warmth and mobility whilst minimising bulk.
£390.00

Words by | Nathan Hadley
Images by | Jeremiah Watt
Words & images by | Athlete Name
Climber, Software Developer, New Route Developer, Setter, & Photographer. After finishing undergrad in Chicago, Nathan moved back to his hometown of Indianapolis, Indiana, started setting, and making regular trips to the Red River Gorge again. The forested hills and abundant sandstone walls of Kentucky began to renew his psych for climbing.
Read more about Nathan here