How to Repair Your Backpack | Pack Repairs
How to repair your backpack.
Is your backpack looking a little worse for wear? Broken a buckle or torn the fabric? We’ve got a few tips for you to give your backpack a new lease of life.

Identify the two opposing sections of the damaged buckle. Even if only one side is damaged, you’ll need to replace both sections.
Determine the width of your webbing and select the correct size and type of buckle or threadback.
Remove both sides of the damaged buckle. One side can be unthreaded, but the other will need to be snapped or cut off. Make sure to only cut the plastic buckle and not the webbing.
Thread on the new quick attach buckle.

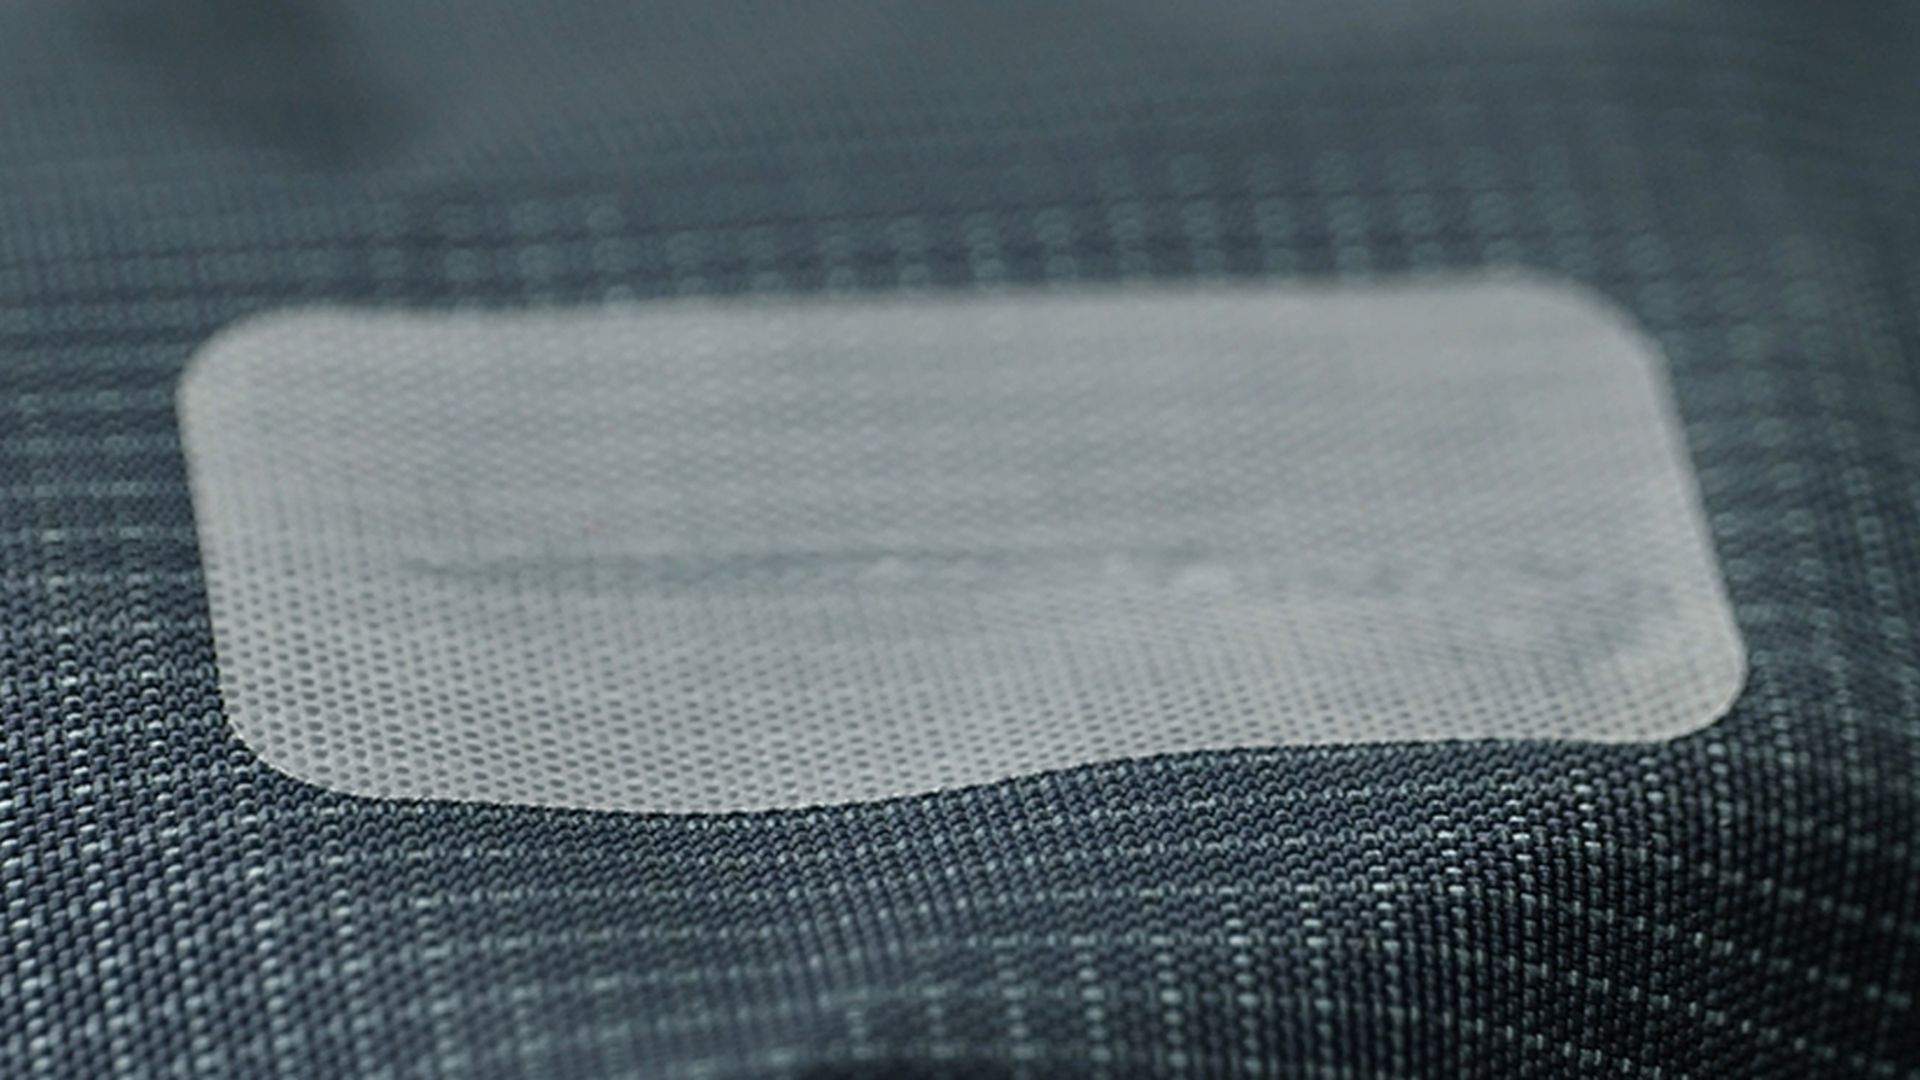
If you’ve torn the fabric of your backpack, you can either sew it up using our handy darning techniques, or temporarily fix it with a hardwearing repair patch that will see you through until you get back:
Start by cleaning the affected area.
Apply a repair patch of a suitable size, ideally a circle as it avoids corners lifting. Try to avoid patching across seams where possible.
Make sure you apply the patch smoothly – using the back of your nail can help with this.
Then, when you get home from your trip, consider sending the backpack to our Service Centre for a more permanent repair.